Run a Task in Slicer
If your product needs to run background jobs, cron-style tasks, or headless AI agents in isolated environments, you can launch microVMs on demand through the API and tear them down when the work is done. The CLI can also act as a client to the API during testing.
Use-cases include:
- Background jobs and batch processing as part of a SaaS product
- Running headless AI coding agents in isolated microVMs
- Cron jobs, scheduled tasks, and serverless-style functions
- CI builds or compiling untrusted customer code
- On-demand IDEs for pull request development or review
There is no limit on how long a task VM runs - it could be 250ms to process a webhook, 48 hours for fine-tuning, or several weeks. Ephemeral VMs are cleaned up when Slicer shuts down. Use "persistent": true if the VM needs to survive restarts.
Watch a demo of the tutorial to see how fast it is to launch microVMs for one-shot tasks.
Tutorial
Create an empty hostgroup configuration.
For the fastest possible boot times, use ZFS for storage.
If you don't have ZFS set up yet, you can simply replace the storage flags with something like:
--storage: image
Create tasks.yaml slicer config:
slicer new task \
  --cpu 1 \
  --ram 2 \
  --count 0 \
  --storage zfs \
  --persistent false \
  > tasks.yaml
Now start up slicer:
sudo slicer up ./tasks.yaml
Now set up a HTTP endpoint using a free service like ReqBin.com or webhook.site.
Write a userdata script to send a POST request to your HTTP endpoint on boot-up, then have it exit.
Save task.sh:
cat > task.sh <<'EOF'
#!/bin/bash
curl -i -X POST -d "$(cat /etc/hostname) booted\nUptime: $(uptime)" \
    https://webhook.site/f38eddbf-6285-4ff8-ae3e-f2e782c73d8f

sleep 1
sudo reboot
exit 0
EOF
Then run your task by booting a VM with the script as its userdata:
curl -isLSf http://127.0.0.1:8081/hostgroup/task/nodes \
    -H "Content-Type: application/json" \
    --data-binary "{
  \"userdata\": $(cat ./task.sh | jq -Rs .)
}"
Check your HTTP bin for the results.
You can also run this in a for loop:
for i in {1..5}
do
  curl -sLSf http://127.0.0.1:8081/hostgroup/task/nodes \
      -H "Content-Type: application/json" \
      --data-binary "{\"userdata\": $(cat ./task.sh | jq -Rs .)}"
done
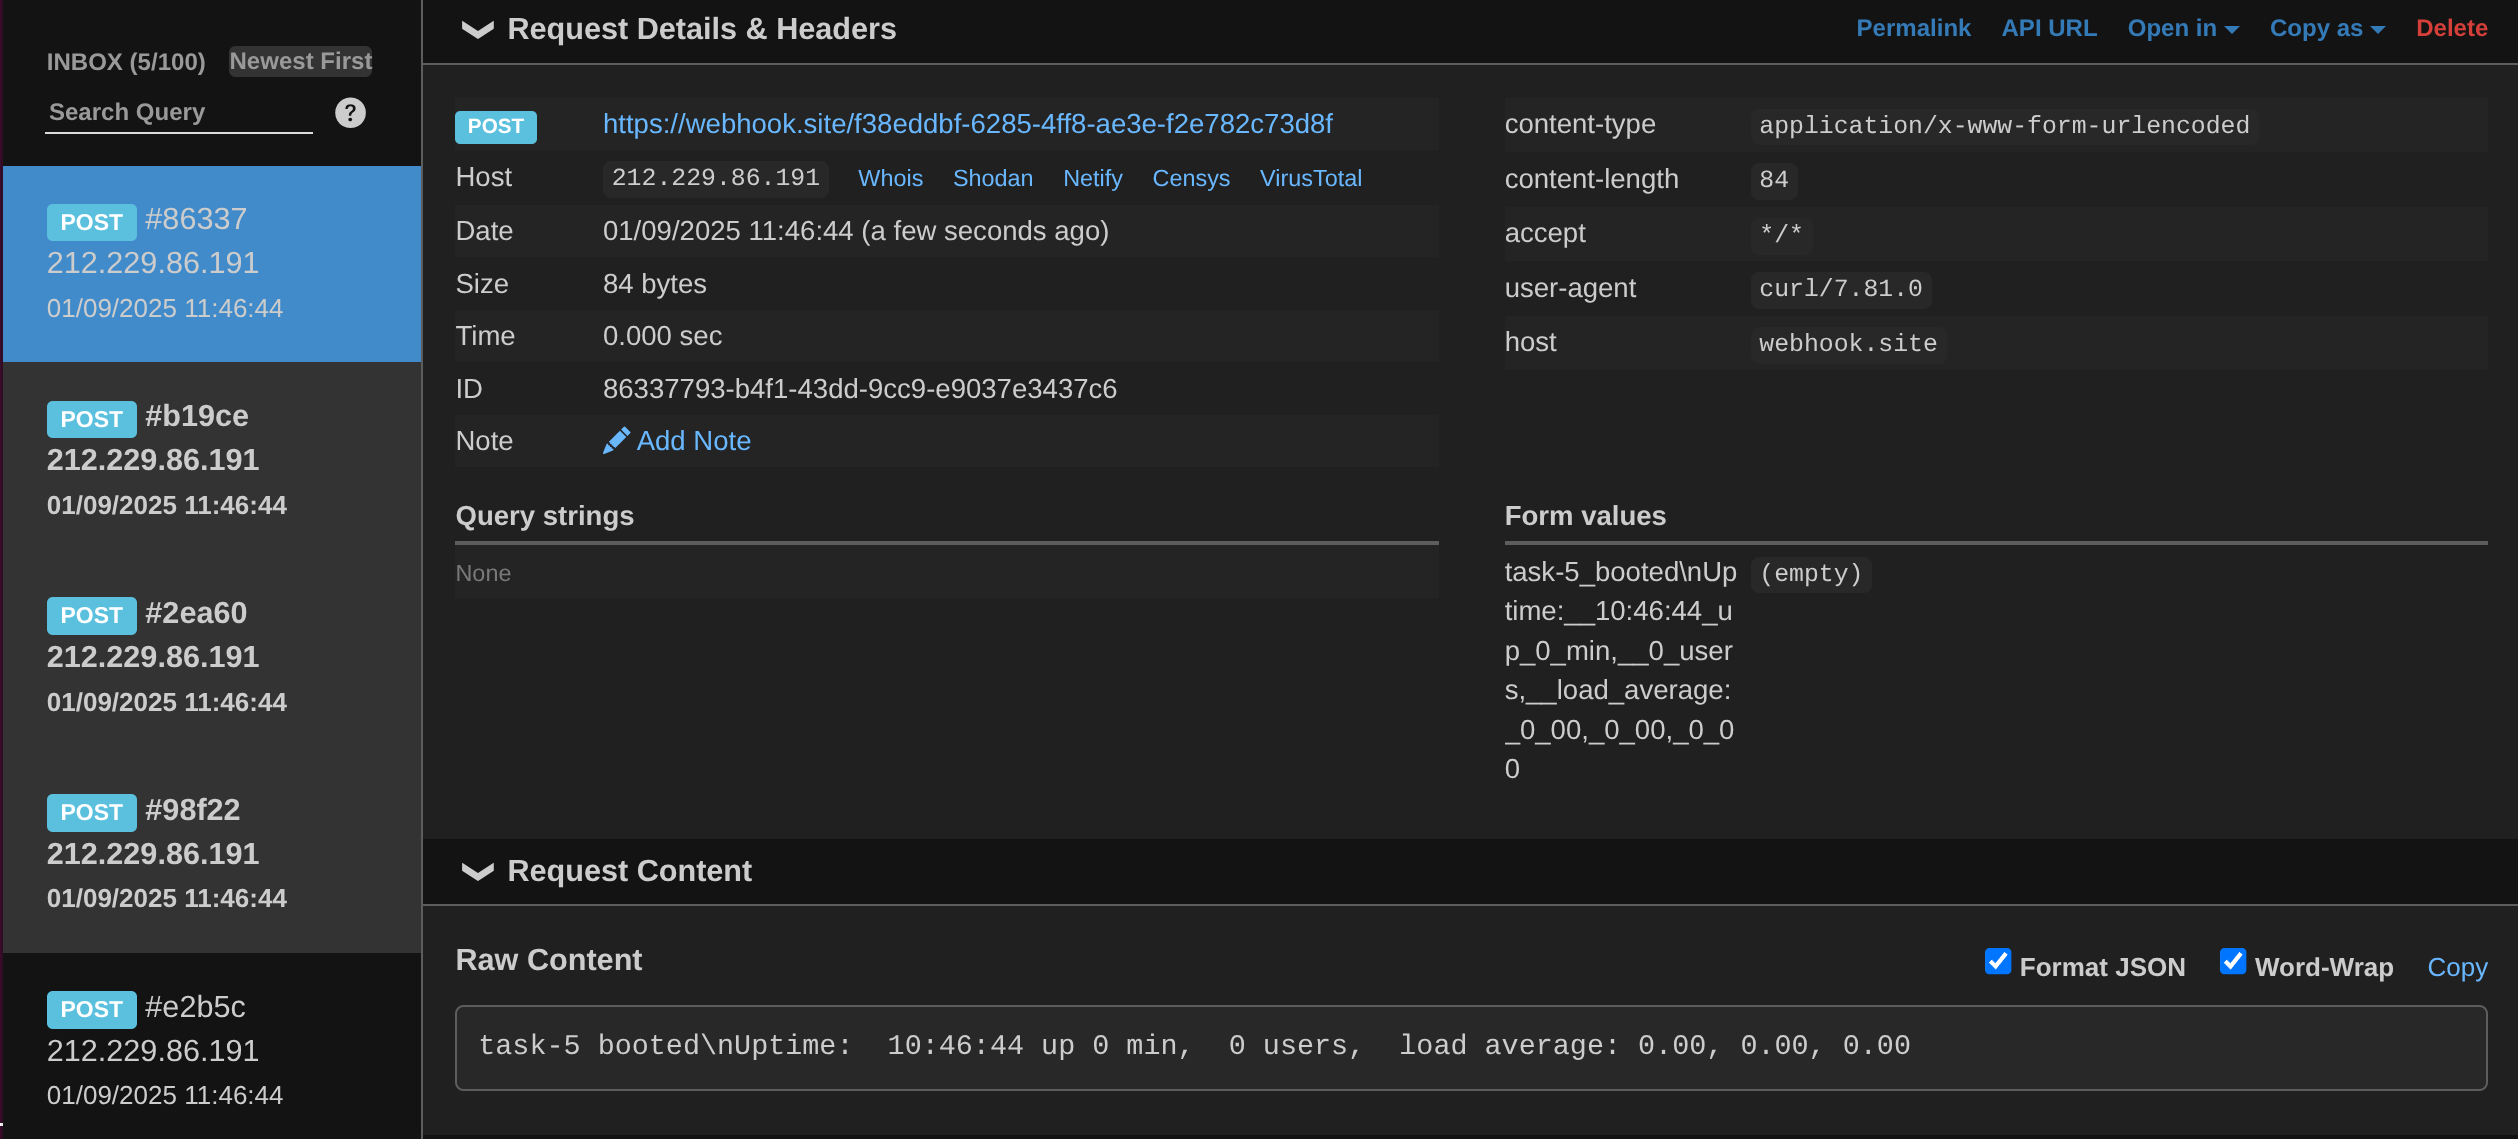
Each of the 5 tasks that executed and exited, posted to the endpoint
Launch a task from the CLI
The slicer CLI can act as a HTTP client to the REST API, which makes it a bit easier for initial exploration:
for i in {1..5};
do
  slicer vm add \
    task \
    --api http://127.0.0.1:8081 \
    --userdata-file ./task.sh
done
The output will be as follows:
VM created
  Hostname: task-1
  Group:    task
  IP:       192.168.138.2/24
  Specs:    1 vCPU, 2GB RAM, GPUs: 0
  Persistent: false
  Created:  2025-09-09T09:45:27+01:00
When using Cloud Hypervisor for GPU support, the --gpus flag can be passed to allocate a number of GPUs from the host into the guest VM.
This would be useful for batch inference, or AI jobs that benefit from direct access to a local LLM.
Optimise the image for start-up speed
After various Kernel modules are loaded, and the system has performed its self-checking, your code should be running at about the 2.5s mark, or a bit earlier depending on your machine.
To optimise the boot time further for one-shot use-cases, the SSH host key regenerate step that is present on start-up. It can add a few seconds to the boot time, especially if entropy is low on your system.
You can derive your own image to use, with this disabled:
FROM ghcr.io/openfaasltd/slicer-systemd:6.1.90-x86_64-latest

RUN systemctl disable regen-ssh-host-keys &&
    systemctl disable ssh && \
    systemctl disable sshd && \
    systemctl disable slicer-vmmeter
After SSH is disabled, the only way to debug a machine is via the Slicer agent using slicer vm shell to get a shell.
You can also disable slicer-agent (not actually a full SSH daemon), however the slicer vm commands will no longer work.
If you publish an image to the Docker Hub, make sure you include its prefix i.e. docker.io/owner/repo:tag.