Large Scale Kubernetes (k3s)
Since the default limit for Kubernetes is around 100 Pods per node, installing Kubernetes directly to a host will not allow for large scale deployments.
This blog post is intended for creating large clusters for testing/experimentation, R&D, and customer support purposes.
It uses a snapshotting filesystem with CoW, so that only a minimal amount of disk space needs to be allocated, and launch times are kept very fast.
You can of course install any Kubernetes distribution in two ways:
- Via SSH (K3sup Pro, Ansible, etc)
- Via a userdata script written in bash
Since K3sup Pro runs in parallel, is designed to work with Slicer's API, and is included for free for Slicer customers, we'll use it here for a speedy installation.
Video demo of setting up a large scale K3s cluster:
Setup the VM configuration
Consider the target hardware, and the specification you require for your nodes.
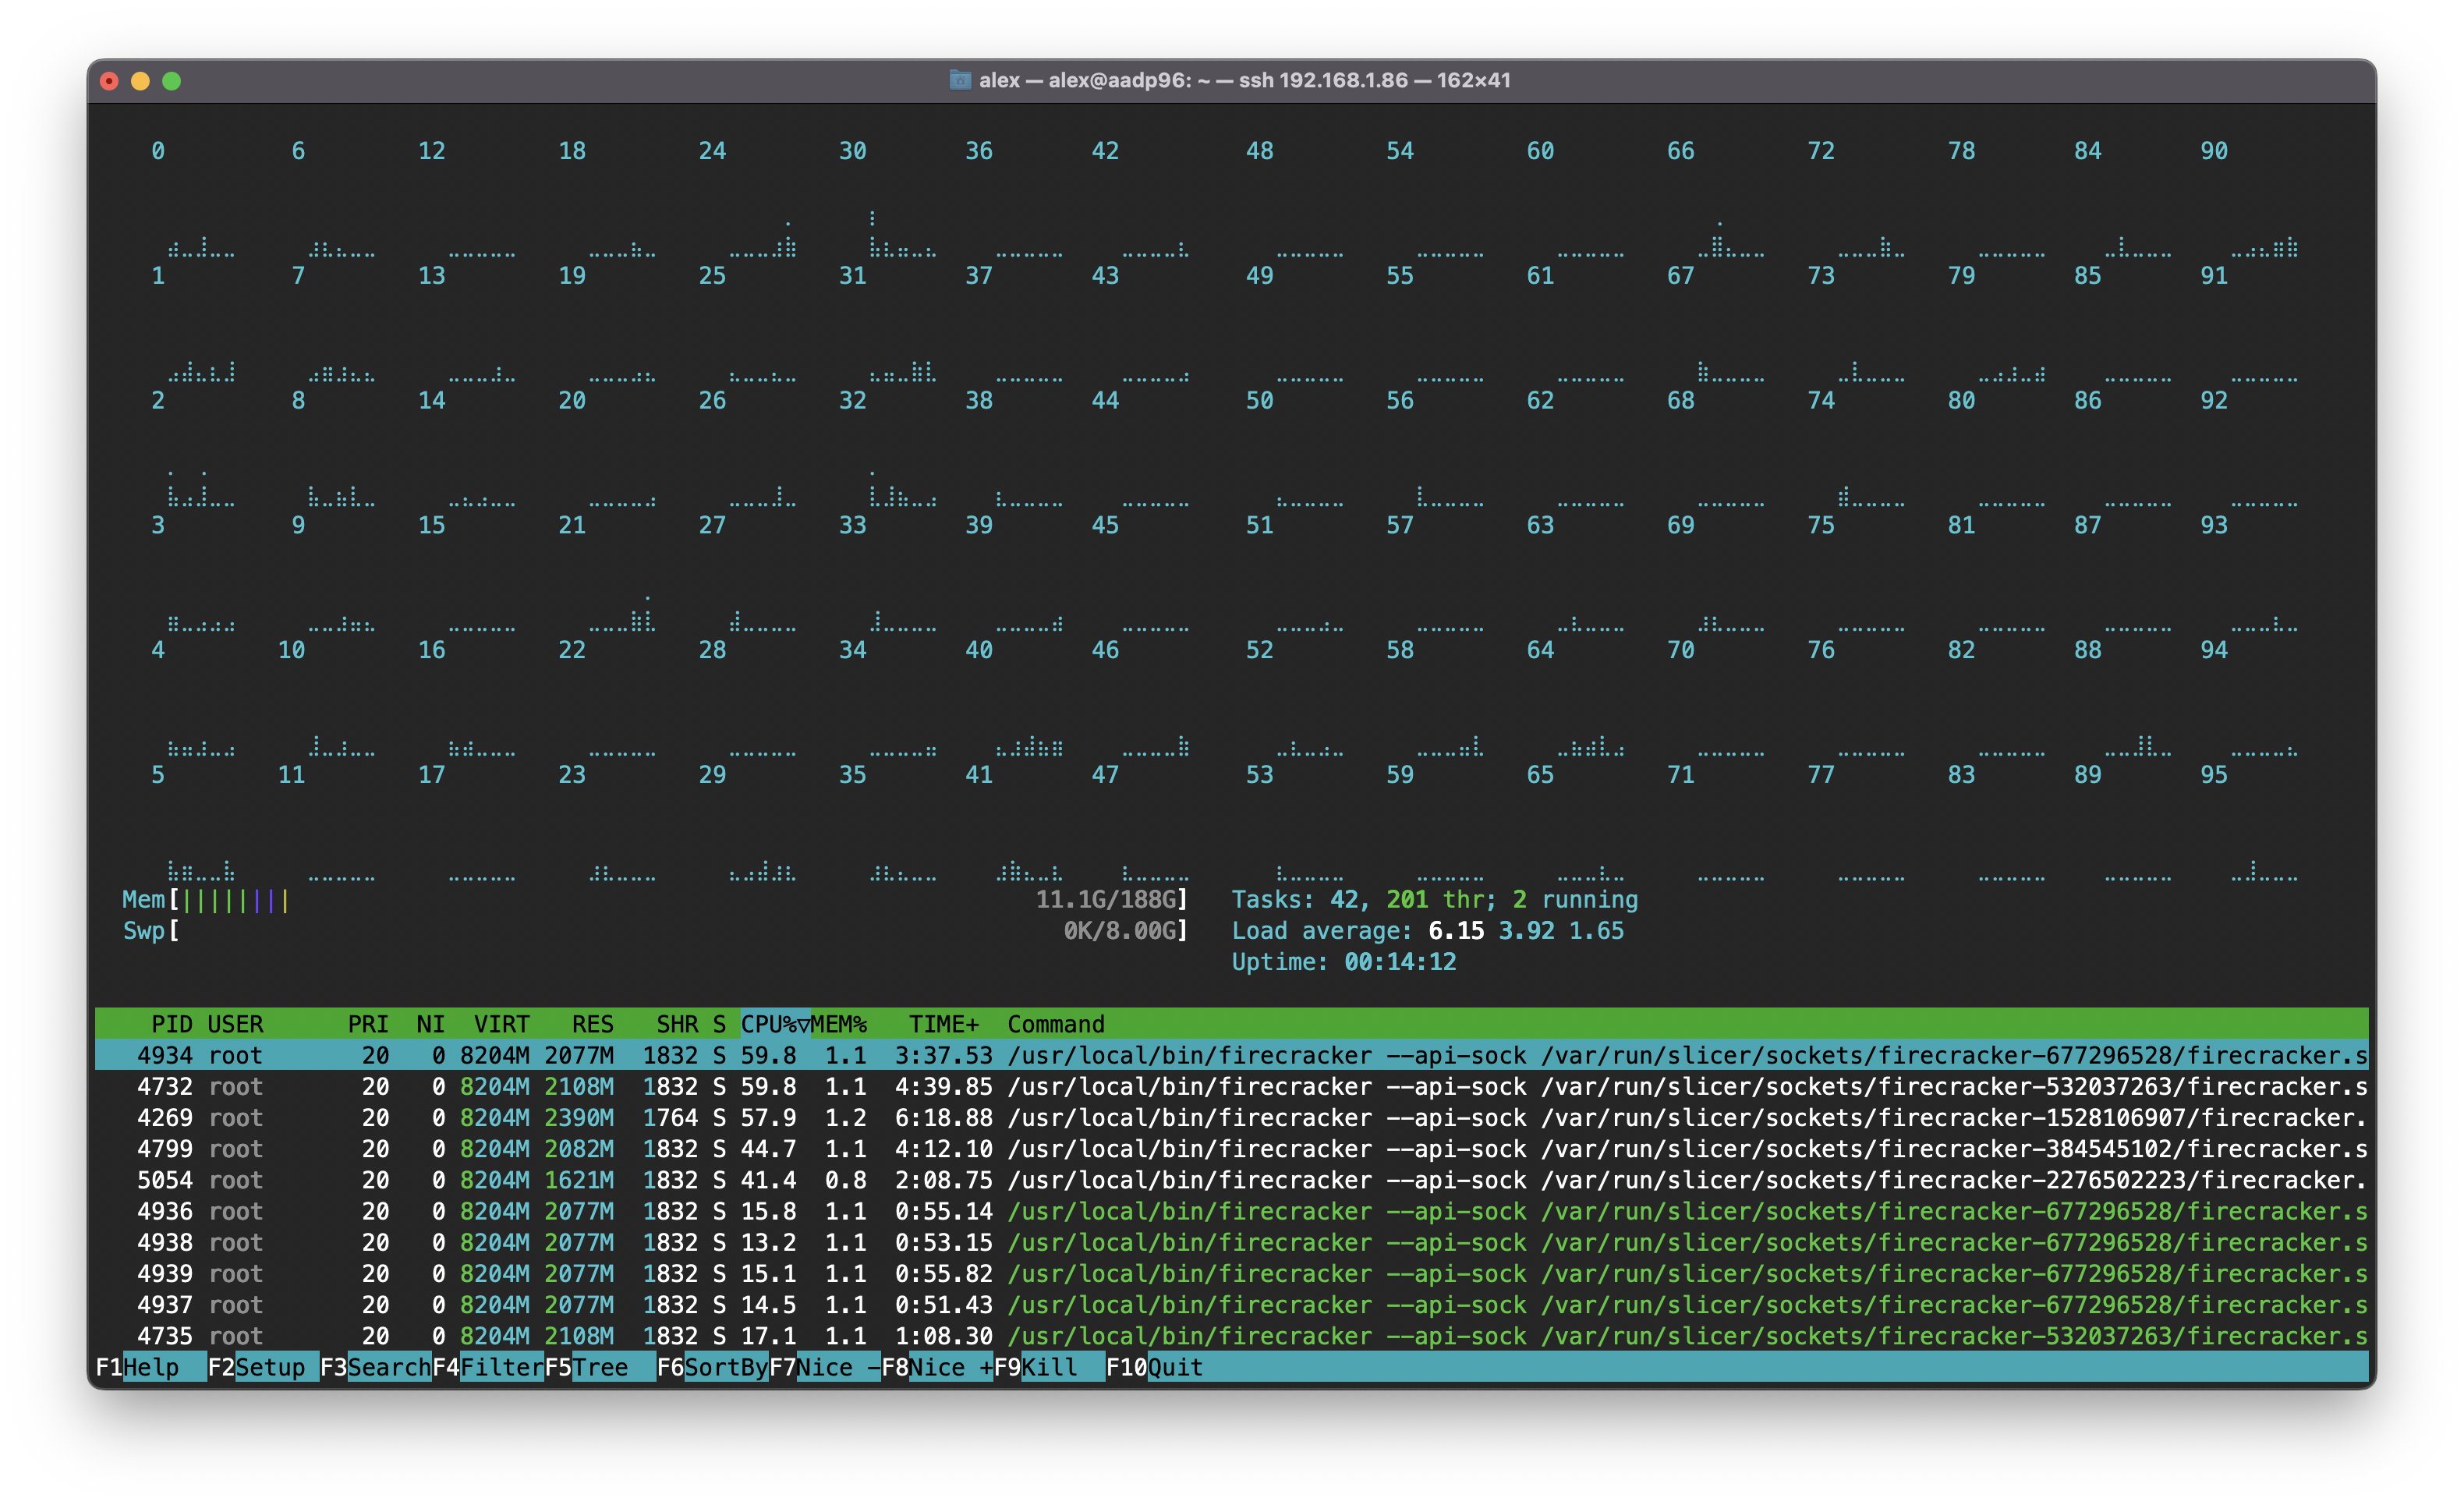
If your system like ours has a 96-core Arm processor, with 196GB of RAM, you could split it up in any number of ways.
The Adlink Ampere Developer Platform loaded up with 96 cores and 196GB RAM.
- 12 nodes with 8 cores and 16GB RAM each
- 24 nodes with 4 cores and 8GB RAM each
- 32 nodes with 3 cores and 6GB RAM each
- 48 nodes with 2 cores and 4GB RAM each
- 96 nodes with 1 core and 2GB RAM each
Even if you don't have a large machine like this, you could run Slicer on multiple machines to get to a similar size.
Let's go for the mid-ground with 24 nodes.
Create k3s-scale.yaml:
slicer new k3s \
  --storage zfs \
  --persistent true \
  --count 24 \
  --vcpu 4 \
  --ram_gb 8 \
  > k3s-scale.yaml
If you need to run the same test with a fresh cluster over and over again, you can change the --persistent true configuration to --persistent false. Then the snapshots will be discarded when Slicer exits. Otherwise, they are retained indefinitely.
Now launch Slicer in a tmux window, so you can come back to it later:
tmux new-session -s slicer

sudo slicer up ./k3s-scale.yaml
The Root filesystem will be downloaded and unpacked, then all the VMs will be launched.
Install Kubernetes with K3sup Pro
Access the API on the server to download the devices file:
curl -LsS http://127.0.0.1:8080/devices -o devices.json
On your workstation, add any routes that are specified so you can access the VMs on their own network.
Download the devices.json file to your local computer, and install K3sup Pro:
curl -sSL https://get.k3sup.dev | PRO=true sudo -E sh
Next, create a K3sup Pro plan using the devices file. Simply run the command in the same folder as devices.json.
Pick an amount of nodes to dedicate to being servers, the rest will be agents.
Always use an odd number, with a minimum of three. In K3s, servers can also run workloads by default.
k3sup pro plan \
  --servers 3 \
  --traefik=false \
  --user ubuntu
The plan command creates or updates a plan.yaml file in the local directory. You can view it or edit it.
Apply the plan, the first server is created, then all other nodes are added in parallel based upon the --parallel flag.
k3sup pro apply --parallel 8
After a short period of time, your cluster will be ready.
Get access to the kubeconfig
Merge it into your KUBECONFIG file:
mkdir -p ~/.kube
cp ~/.kube/config ~/.kube/config.bak || true

k3sup-pro get-config \
 --local-path ~/.kube/config \
 --merge \
 --context slicer-k3s-scale
Next switch into the context and install something to try out the cluster, like OpenFaaS CE.
arkade get kubectx
kubectx slicer-k3s-scale

kubectl get nodes -o wide
kubectl top pod

arkade install openfaas
